Agent Plugins
Plugins are the bridge between your coding agent and Overlord. Install them once and Overlord can launch tickets through that agent, stream updates back, and record the delivery.
Step 1 — Install the packaged plugins from Overlord
The desktop app and the CLI both ship the Overlord-managed connector bundles. In the desktop app, open Settings → CLI & Local Agents, then use the Agent plugins section to prepare the plugins you want. If you prefer the CLI, use ovld setup claude or ovld setup codex.
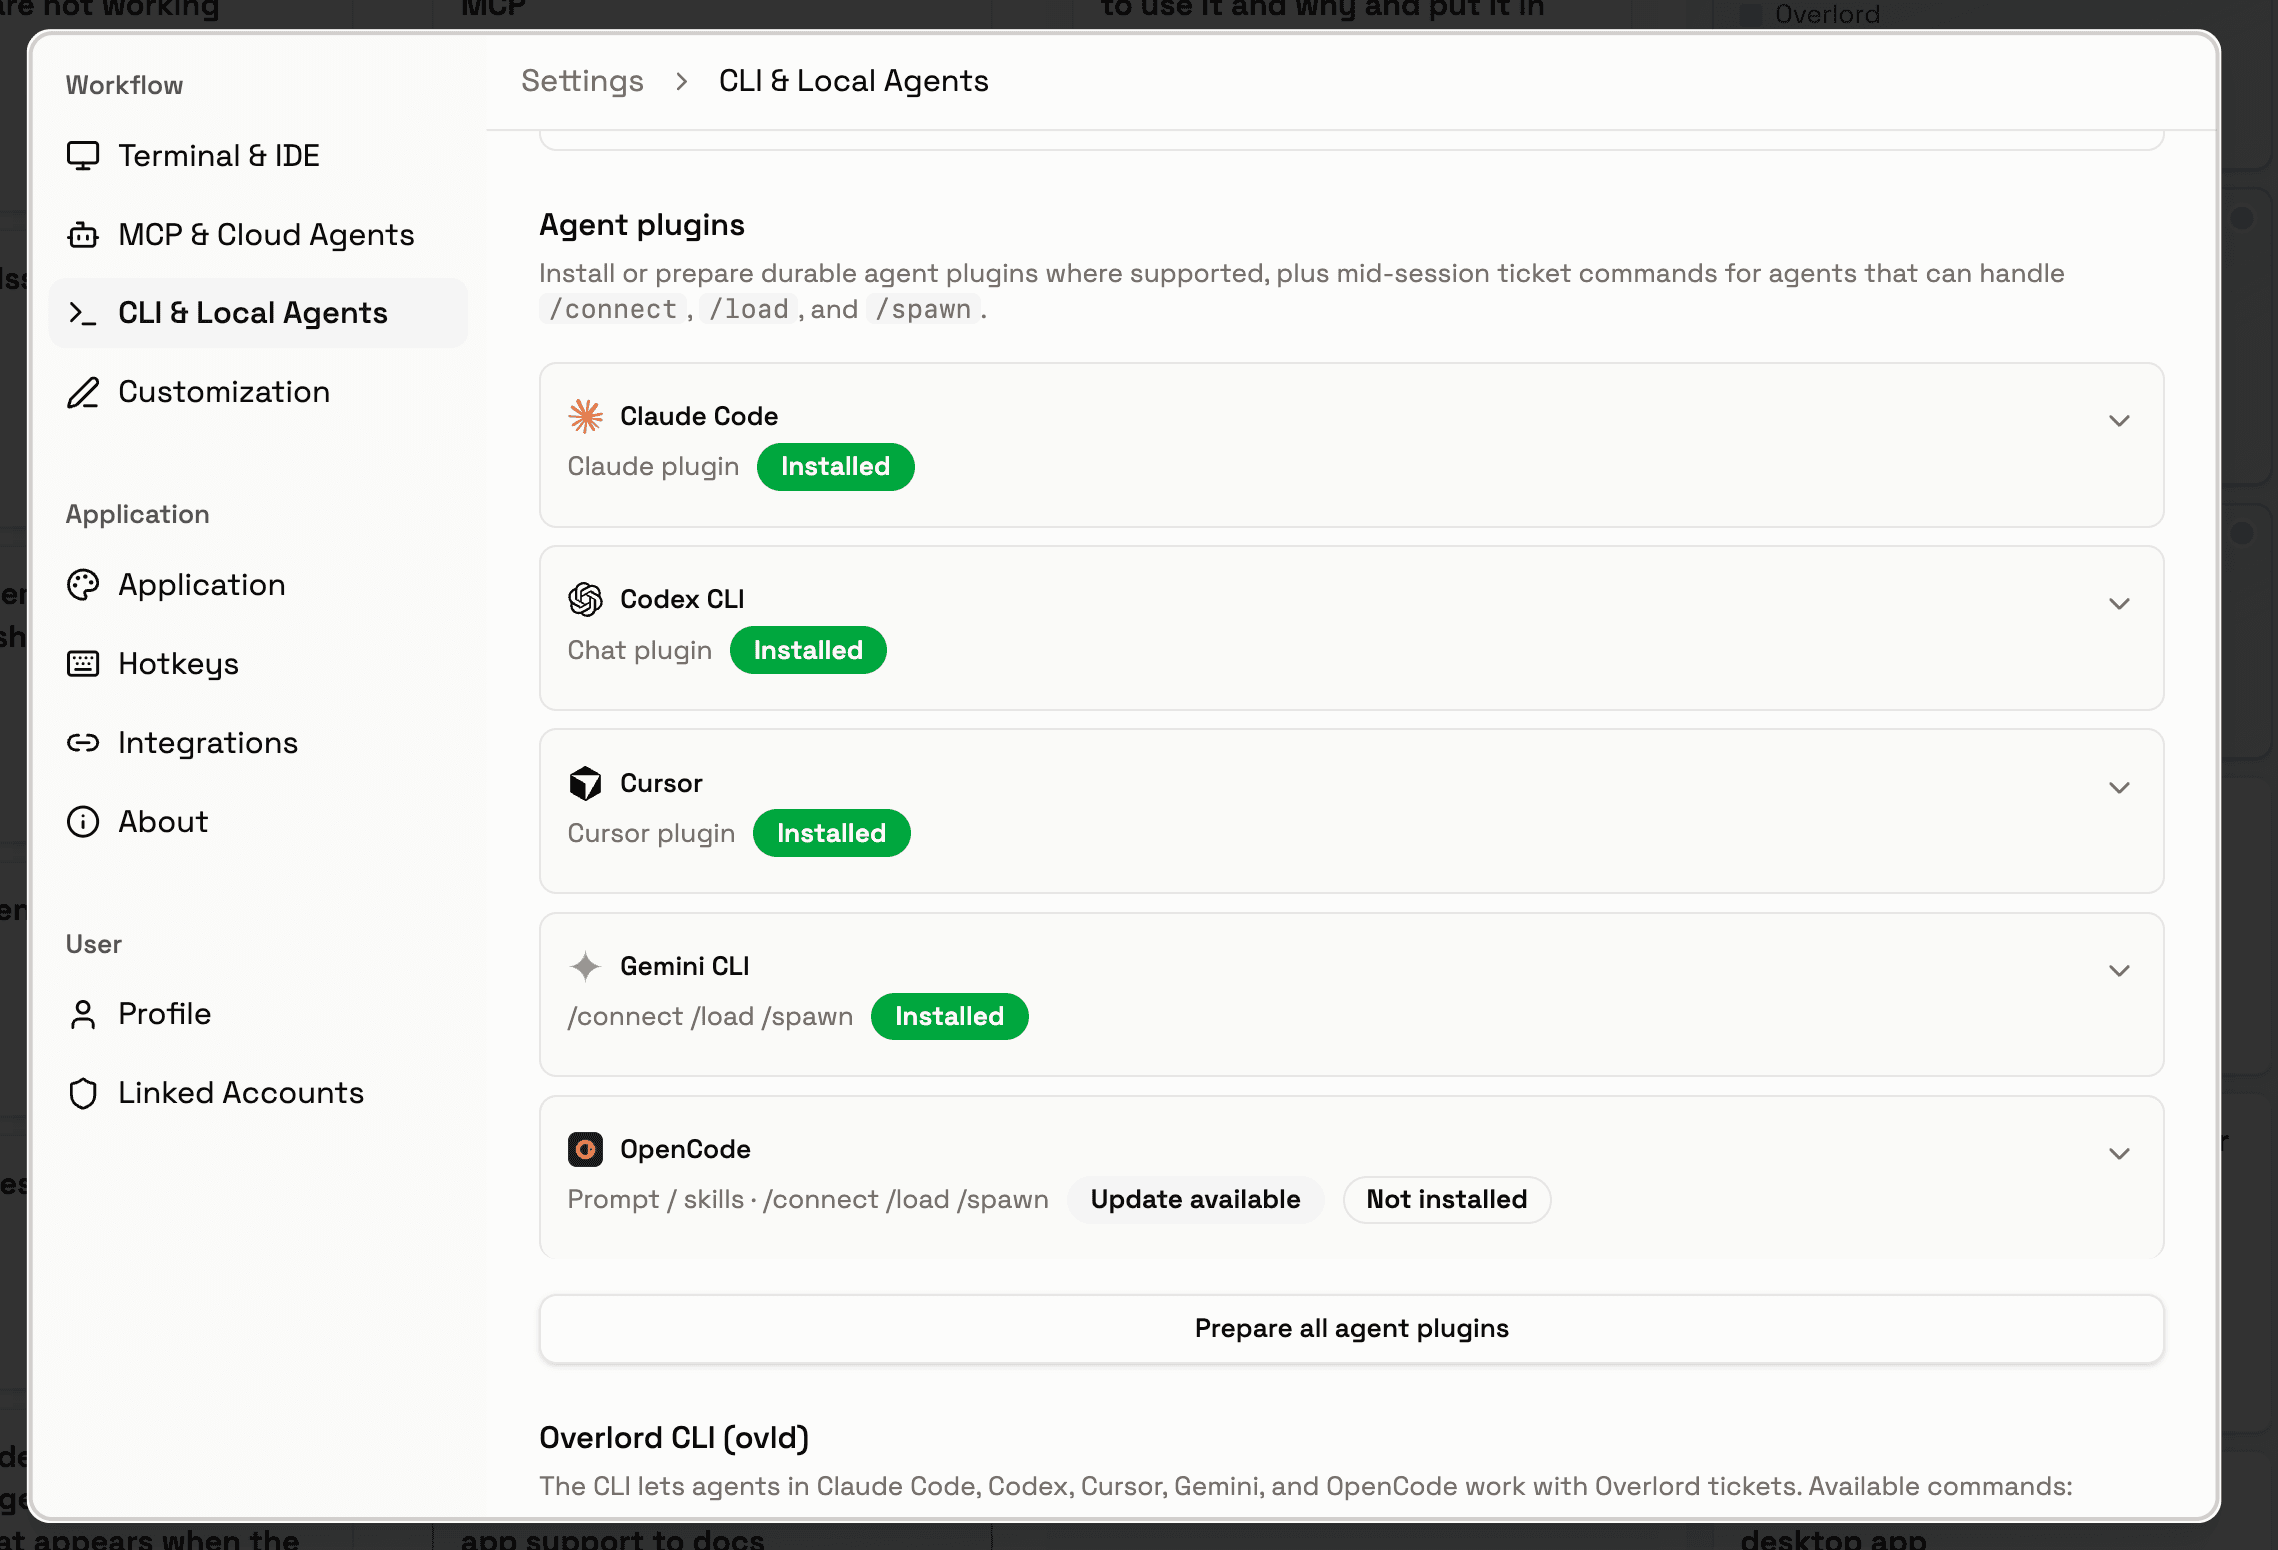
Select the agents you want, then click Prepare all agent plugins. Overlord writes the local connector files for each selected agent and keeps them in sync when you rerun this step after an update.
Step 2 — Register the plugin in your agent
Once the plugin files exist on disk, tell your agent where to find them. Pick the tab that matches your setup.
Slash commands
Installing an Overlord plugin or running ovld setup <agent> registers a set of slash commands you can use mid-session in Claude Code, Cursor, Antigravity CLI, and OpenCode. Each one is a thin wrapper around an ovld protocol call.
/attach <ticket_id>— establish a persistent session with an existing ticket (Claude and OpenCode)./connect <ticket_id>— route the current session onto another ticket without loading its full context./load <ticket_id>— read a ticket's details, history, and artifacts without creating a session./discuss-objective <ticket_id>— mark a draft objective as submitted (in active discussion) without starting execution (Claude and OpenCode)./create <objective>— create a draft Overlord ticket from the current conversation./prompt <objective>— create a ticket inexecuteand attach the current session immediately./record-work [context]— record work the agent already completed in chat as a ticket inreviewwith a generated feed post. The agent synthesizes objective, summary, and per-file change rationales from the conversation and the local git diff before invokingovld protocol record-work. No session is opened.
Antigravity installs as a plugin via agy plugin install; Claude, Cursor, and OpenCode use Markdown files in their respective commands/ directories. Run ovld setup antigravity to install the Antigravity plugin, then launch tickets with ovld launch antigravity --ticket-id <ticket_id>. Gemini CLI is deprecated — Antigravity manages model selection in its own UI.
Keeping plugins up to date
When the Overlord desktop app updates, rerun the prepare step in Settings → CLI & Local Agents. If you manage your setup from the terminal, rerun ovld setup claude or ovld setup codex instead.